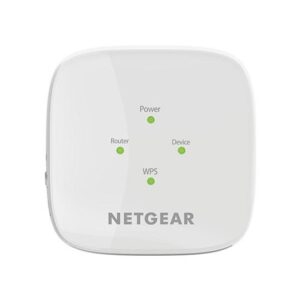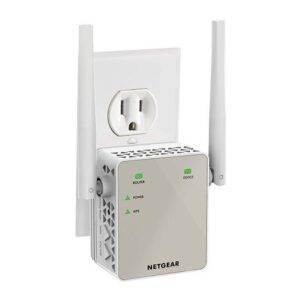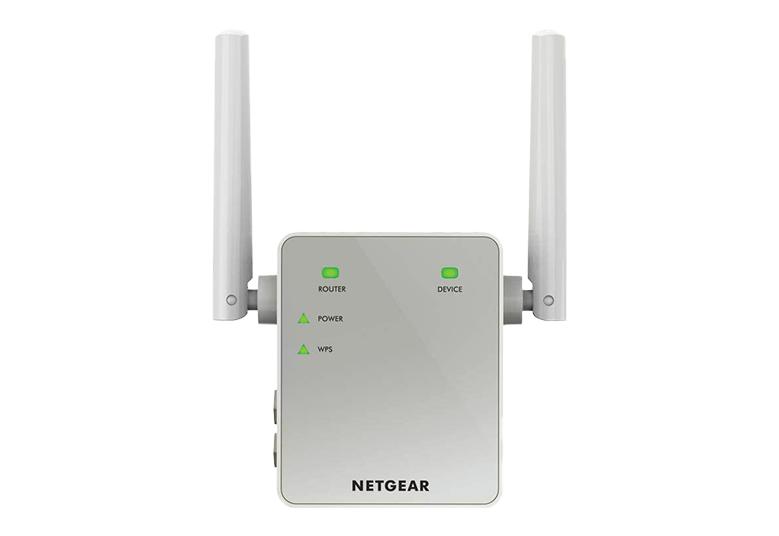
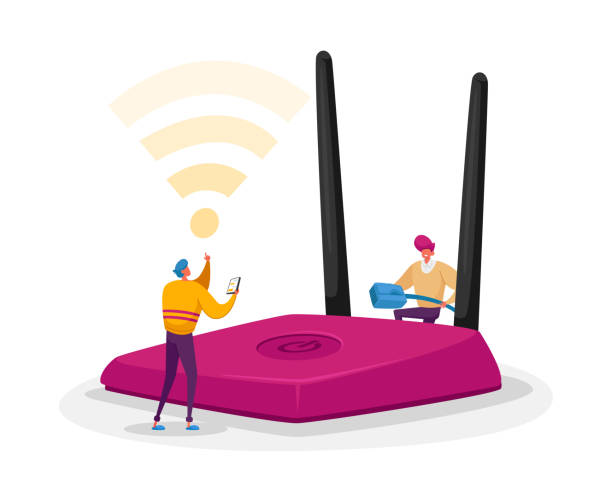
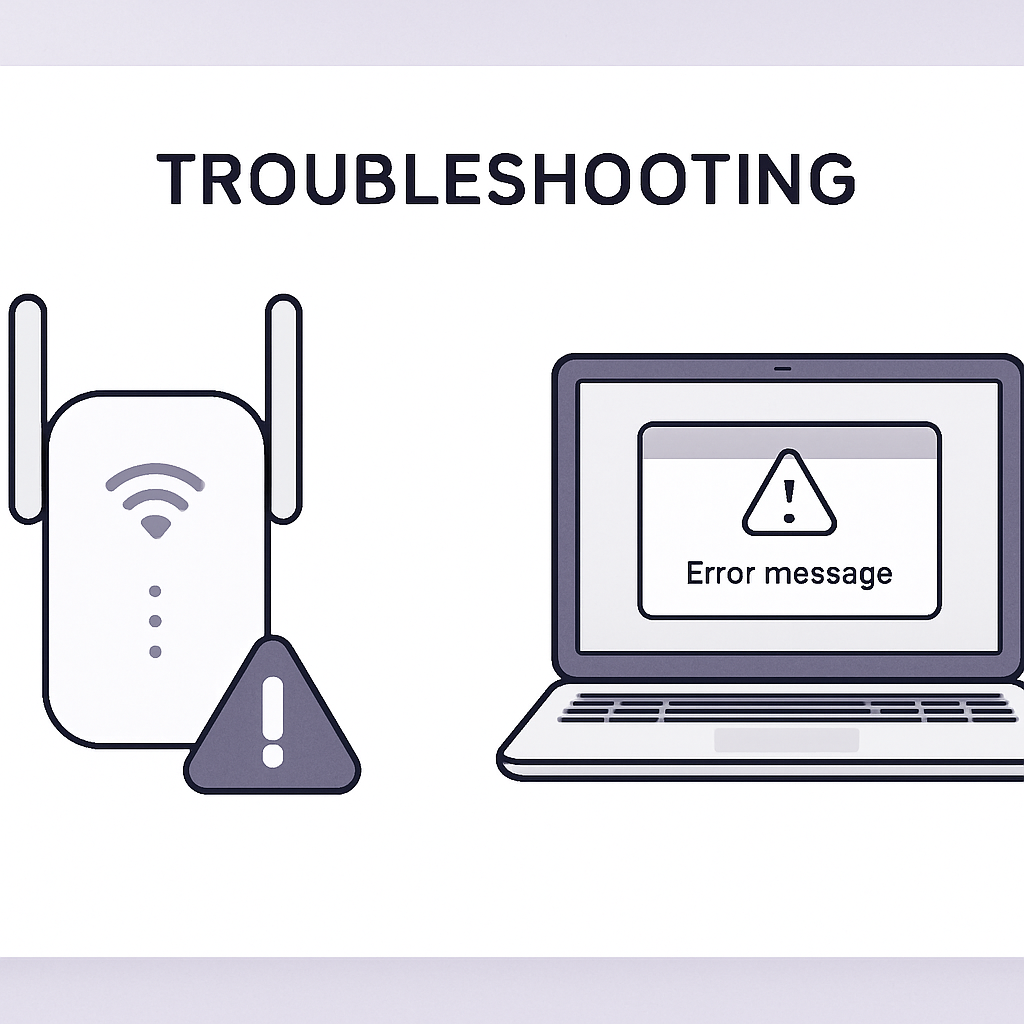
Option 1: WPS Setup (Quick Method)
Get your extender online in just 2 minutes!
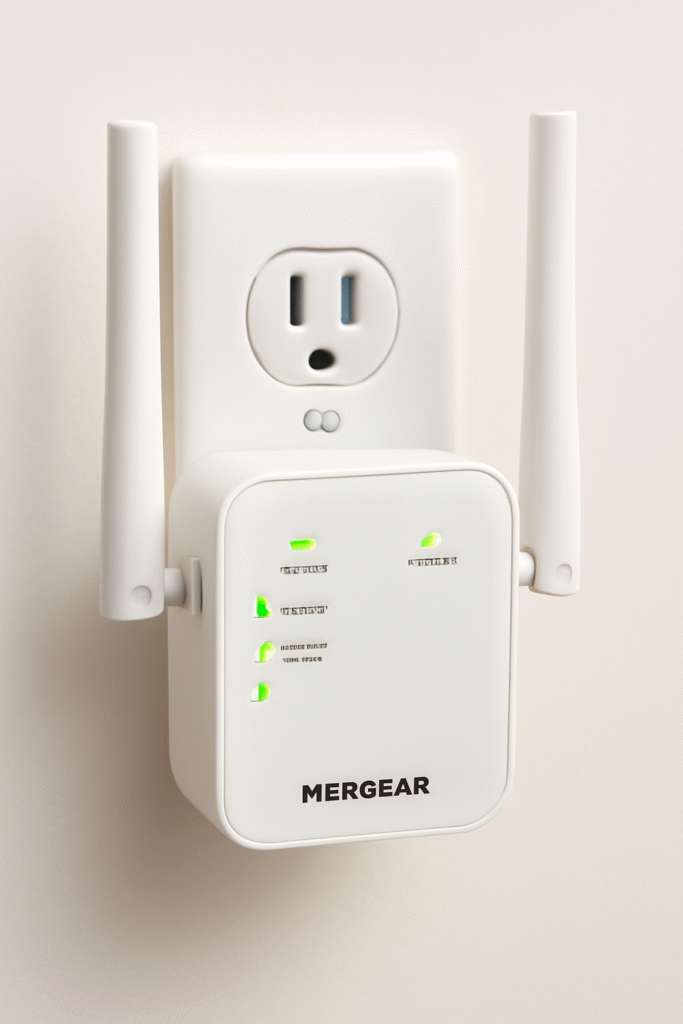
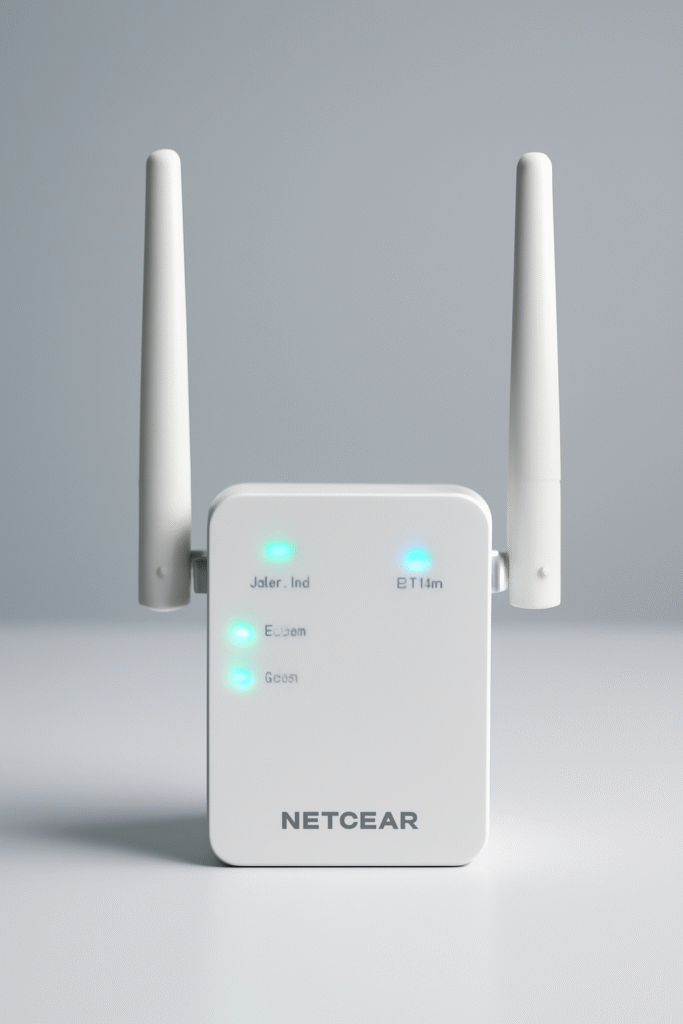
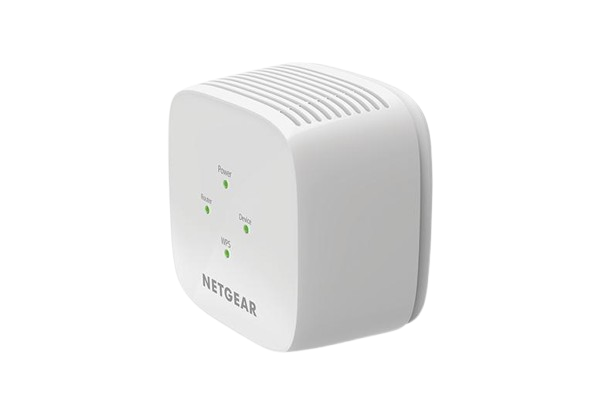
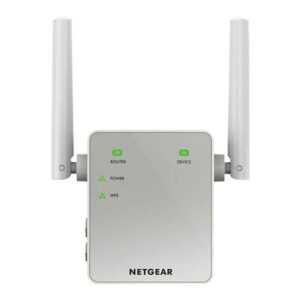
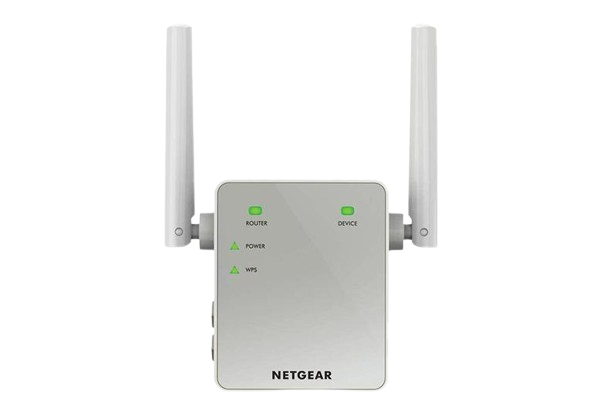
- Plug your extender into a power outlet near your router.
- Wait for the LED light to turn solid.
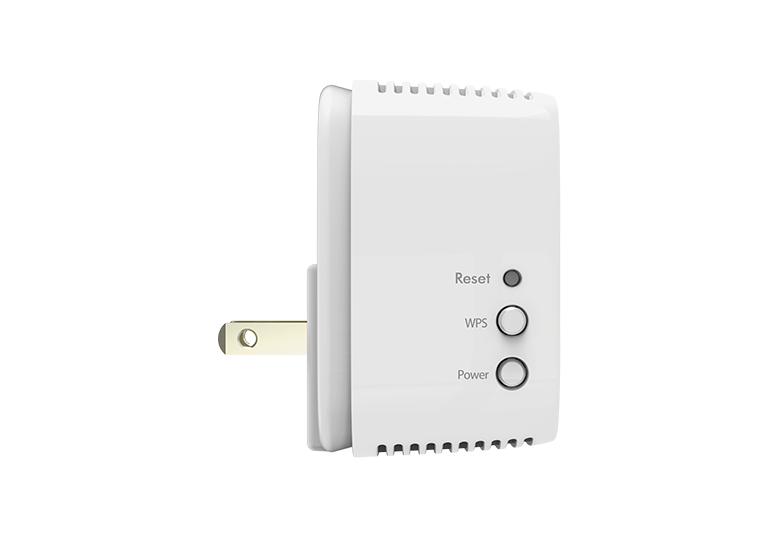
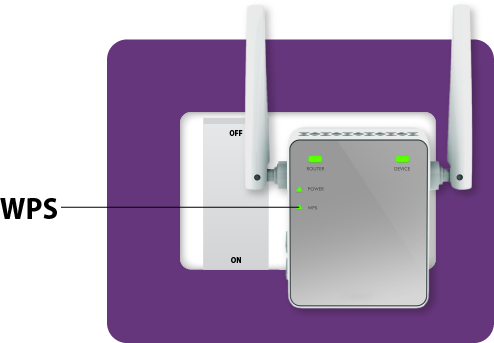
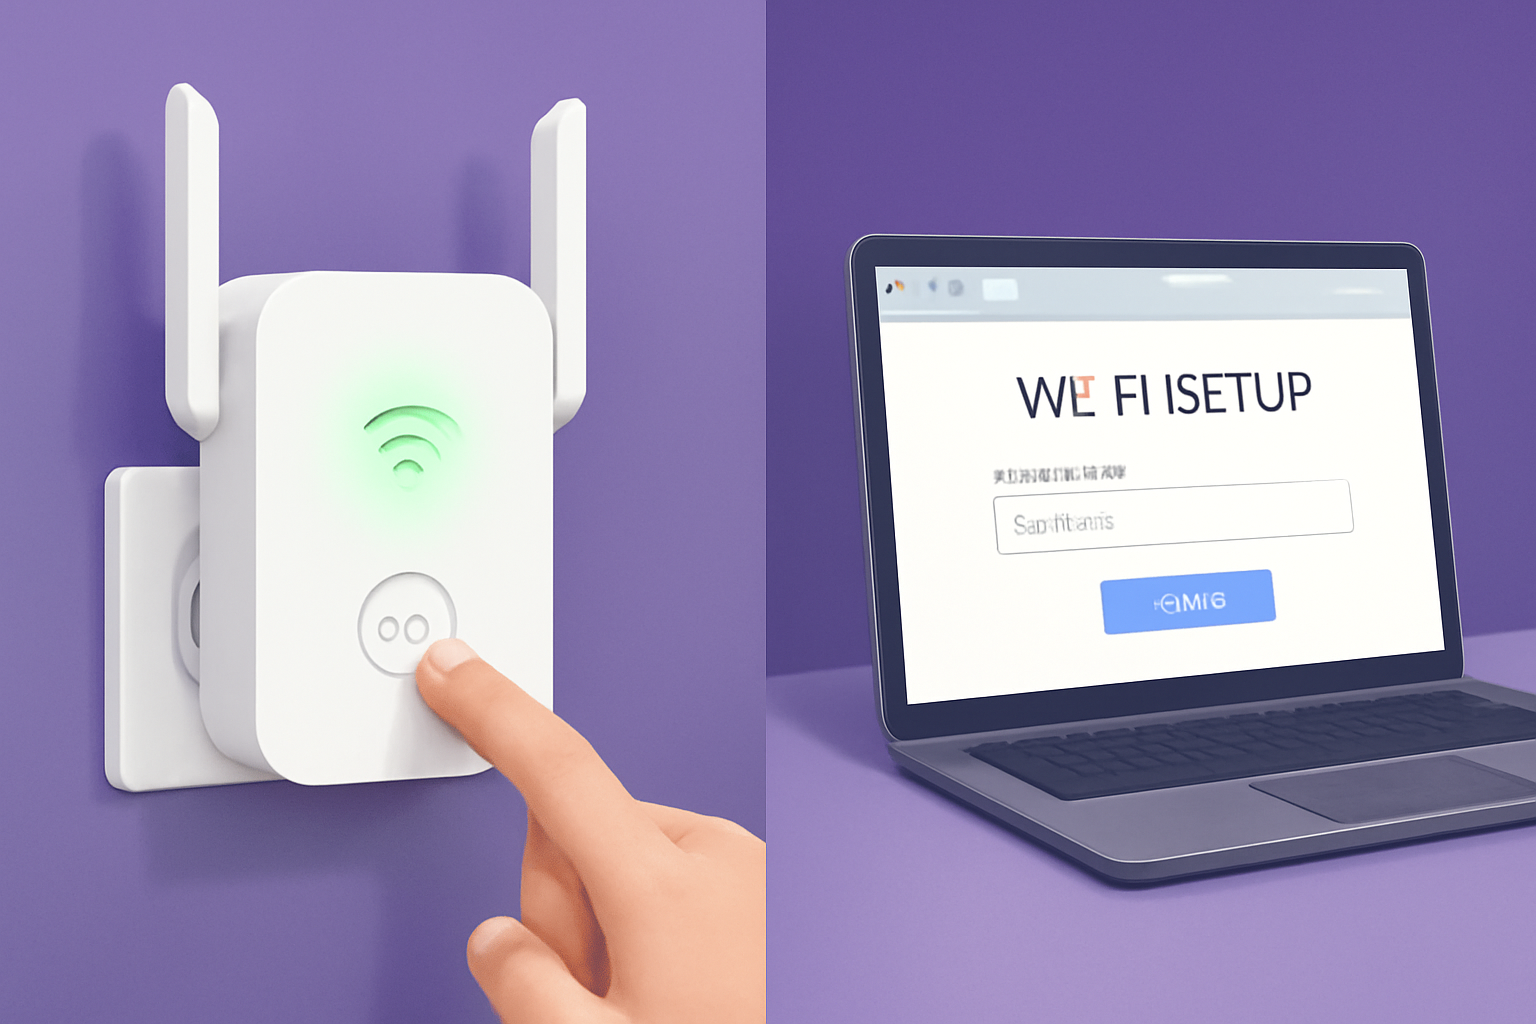
- Press the WPS button on your extender.
- Within 2 minutes, press the WPS button on your router.
- When the extender LED turns green, you’re connected!
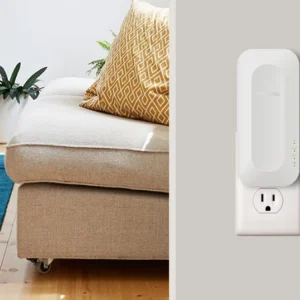
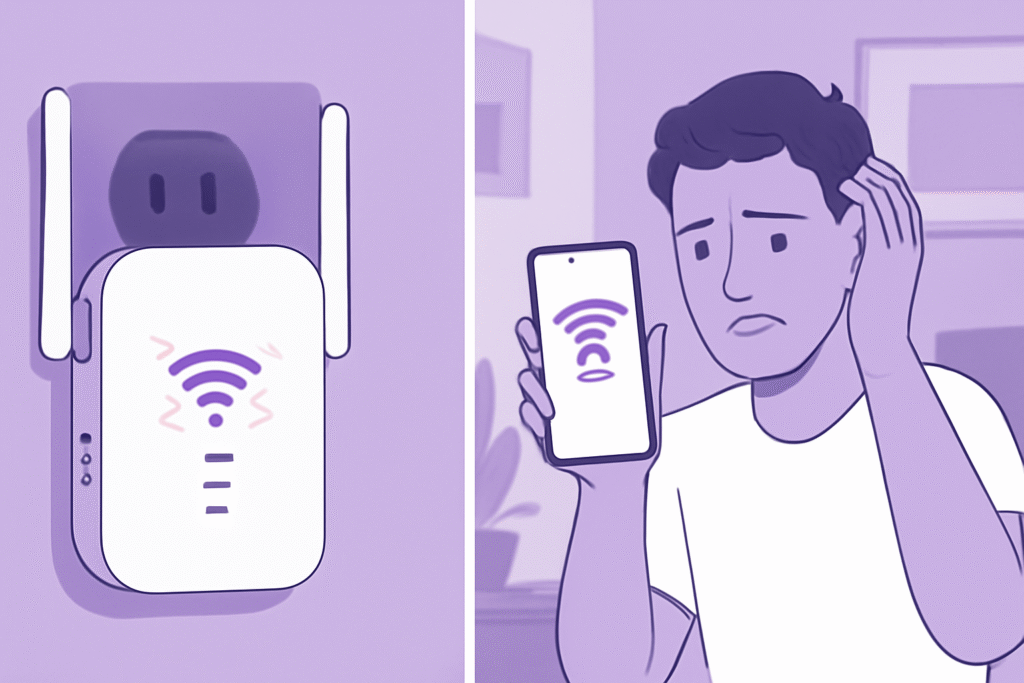
- Place your extender midway between the router and the area with weak WiFi.
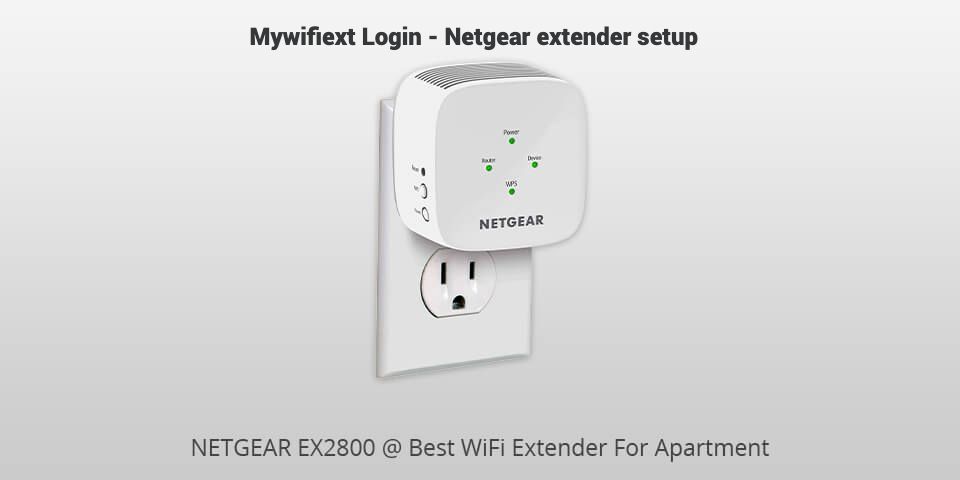
Option 2: Browser Setup (Manual & Custom)
Take full control of your extender and network settings.
- Connect your device (phone, tablet, or laptop) to the extender’s WiFi network.
- Open any browser and visit www.mywifiext.net (Windows) or mywifiext.local (Mac).
- Log in with your admin credentials.
- Save changes and connect your devices!
- When the extender LED turns green, you’re connected!
- Place your extender midway between the router and the area with weak WiFi.